Build Your Own DIY Fire Pit with Bricks – A Step-by-Step Guide
As a retired firefighter, I’ve learned the importance of safety, practicality, and fun in outdoor projects.
One such project that combines all these elements is creating your very own fire pit with bricks.
A DIY fire pit not only adds warmth and ambiance to your backyard but also provides a place for family and friends to gather.
In this guide, I’ll walk you through the entire process, from choosing materials to building the perfect fire pit for your outdoor space. Let’s dive in!
Contents
- 0.1 1. Choosing the Right Location
- 0.2 2. Selecting the Right Bricks
- 0.3 3. Preparing the Ground
- 0.4 4. Creating the Foundation
- 0.5 5. Laying the First Layer of Bricks
- 0.6 6. Building Up the Walls
- 0.7 7. Adding a Fire Ring (Optional)
- 0.8 8. Creating a Fire Pit Base
- 0.9 9. Finishing Touches and Safety
- 0.10 10. Landscaping Around the Fire Pit
- 0.11 11. Building a Seating Area Around the Fire Pit
- 0.12 12. Adding Lighting Around the Fire Pit
- 0.13 13. Using Your Fire Pit Safely
- 0.14 14. Maintenance Tips for Your Fire Pit
- 1 FAQs:
1. Choosing the Right Location
Before you start laying bricks, it’s essential to choose the right location for your fire pit. Make sure it’s at least 10-20 feet away from structures like your house, trees, and fences to avoid any fire hazards. Opt for a flat, level area that’s easy to work with and has proper drainage. This ensures both safety and stability for your fire pit.
2. Selecting the Right Bricks
For a DIY fire pit, you’ll need to select fire-resistant bricks like fireplace bricks or paving stones. Avoid using regular bricks or cinder blocks as they may crack or explode under high heat. Ensure the bricks are strong enough to handle direct contact with fire, providing long-lasting durability.
3. Preparing the Ground
Start by clearing the area where the fire pit will go. Remove any grass, plants, and debris from the ground. You may need to dig a shallow hole about 4-6 inches deep to create a solid foundation. This will help with stability and ensure proper drainage to avoid water pooling at the base.
4. Creating the Foundation
To create a solid base, lay down a layer of gravel or crushed stone in the hole you’ve dug. This will help with drainage and keep the fire pit level. Use a rubber mallet to compact the gravel and make sure it’s evenly spread. You can also add a layer of sand on top for extra stability.
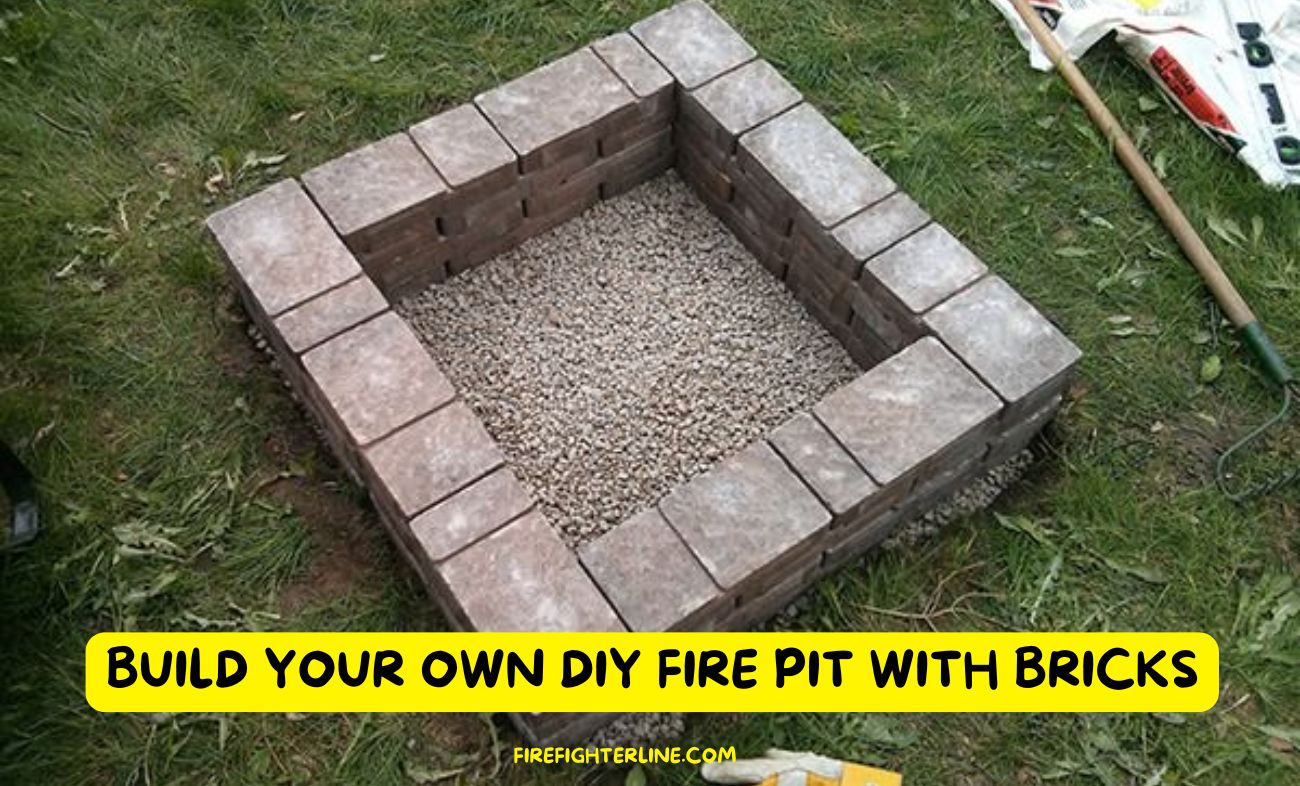
5. Laying the First Layer of Bricks
Now, it’s time to start laying the first layer of bricks. Arrange the bricks in a circle, ensuring they fit tightly together without gaps. If you’re using larger bricks, you can create a wide, stable base. Make sure the first layer is level by using a leveling tool or a string level. This will ensure the subsequent layers are aligned properly.
6. Building Up the Walls
Once the first layer is in place, continue adding additional layers of bricks, one on top of the other. Offset each layer by staggering the bricks to create a more stable structure. Be sure to leave a slight gap between the bricks to allow for proper airflow, which helps with combustion. Use the rubber mallet to gently tap the bricks into place, ensuring they’re securely positioned.
7. Adding a Fire Ring (Optional)
For added safety and style, you can add a metal fire ring inside the brick structure. This metal ring will help protect the bricks from excessive heat, preventing them from cracking over time. It also adds a polished finish to the fire pit. Simply place the ring in the center of the brick wall, making sure it fits snugly.
8. Creating a Fire Pit Base
To complete the fire pit, you’ll need to create a fire pit base where the fire will burn. This can be done by filling the bottom of the pit with a layer of sand or gravel. The sand helps dissipate heat and allows for better airflow, which is essential for keeping the fire burning.
9. Finishing Touches and Safety
Once the structure is built, add the final touches like decorative stones or pebbles around the fire pit for a cleaner, finished look. You can also place a metal grate over the top of the fire pit when not in use to prevent debris from entering. Always have a fire extinguisher or a bucket of water nearby for safety, and never leave a fire unattended.
10. Landscaping Around the Fire Pit
The area surrounding your DIY fire pit can also be enhanced with some simple landscaping. Consider adding paver stones, gravel, or plants around the perimeter. These will not only make the space more aesthetically pleasing but also create a defined area for the fire pit that keeps it separate from other parts of your yard.
11. Building a Seating Area Around the Fire Pit
To make your fire pit more inviting, build a seating area around it. You can use bench seating, outdoor chairs, or even stone seating for a more rustic feel. This provides a comfortable space for friends and family to gather and enjoy the fire.
12. Adding Lighting Around the Fire Pit
For an added touch of ambiance, install outdoor lighting around your fire pit area. Use solar-powered lights or string lights to create a cozy, warm atmosphere in the evening. Lighting adds to the aesthetic while also providing additional safety.
13. Using Your Fire Pit Safely
While your DIY fire pit is a great addition to your backyard, it’s essential to use it safely. Always start the fire with dry wood and avoid burning any treated wood or trash. Keep the fire small and manageable, and always ensure that it is completely extinguished before leaving the area.
14. Maintenance Tips for Your Fire Pit
Regular maintenance will keep your fire pit in good condition. Clean out any ash or debris after each use to prevent buildup. Inspect the brick structure regularly to ensure it remains stable and secure. If any bricks begin to show signs of damage, replace them promptly to avoid further issues.
FAQs:
How long does it take to build a DIY fire pit with bricks?
Building a DIY fire pit with bricks can take a weekend or two, depending on the size of the pit and the complexity of the design. Most people can complete the project in about 4-6 hours if they have the right materials and tools.
What type of bricks should I use for a fire pit?
For a fire pit, it’s best to use fire-resistant bricks such as paving stones, fireplace bricks, or stone blocks. These materials can withstand the intense heat from the fire without cracking or degrading over time.
Can I build a fire pit on my lawn?
Yes, but it’s important to clear the grass and make sure the ground is level. It’s best to build the fire pit on a non-flammable surface, such as gravel or sand, to prevent any fire hazards.
Do I need a fire ring inside the fire pit?
A fire ring is optional, but it is a great idea to add one. It helps protect the bricks from excessive heat and prevents them from cracking. Additionally, it makes the fire pit look more polished and neat.
How do I ensure my fire pit is safe to use?
Always follow safety guidelines: keep your fire pit a safe distance from structures, use dry firewood, and ensure the fire is fully extinguished before leaving the area. Additionally, having a fire extinguisher or water nearby is a good precaution.
Final Thoughts
Building a fire pit with bricks is a rewarding DIY project that adds both beauty and functionality to your outdoor space.
Not only is it a great way to enjoy evenings with family and friends, but it also enhances your backyard’s overall aesthetic.
As a retired firefighter, I encourage everyone to approach this project with safety in mind, ensuring proper construction and maintenance.
With the right materials and a bit of effort, you can create a fire pit that lasts for years to come.

Hi, I m Aaron Smith, a firefighter, and creator of Firefighterline.com, a website that provides top-notch training courses for firefighting organizations. After completing my studies, I quickly rose through the fire service ranks, eventually becoming Captain at one of the busiest fire departments in the state.